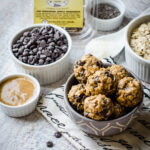


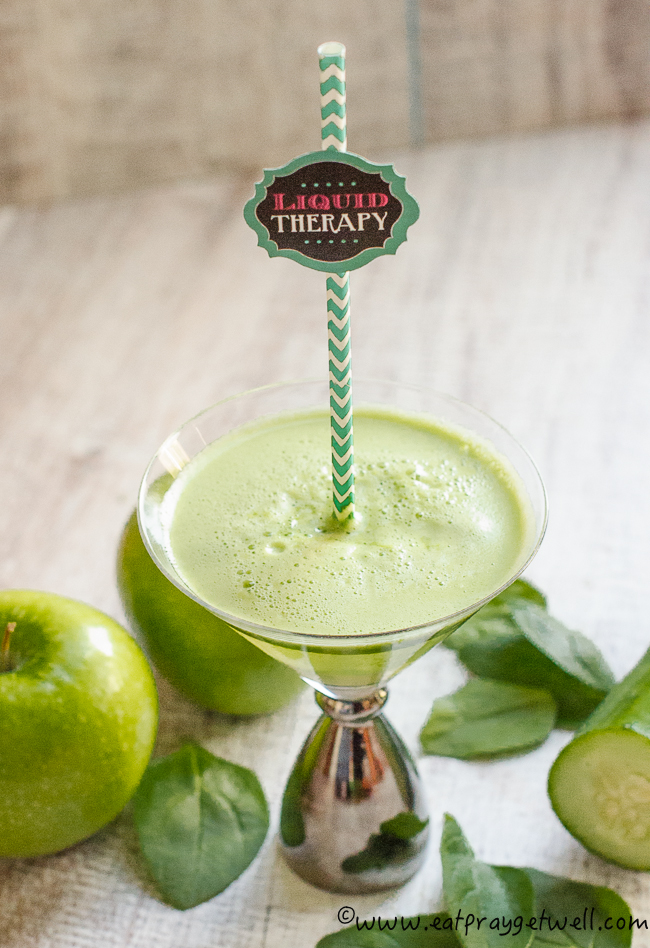


My son just graduated from high school last week and on most mornings I made him a juice for breakfast. On days where there was no time to make a fresh juice, these strawberry oatmeal bars were what we grabbed on the way out the door. I’m sure my son was grateful for those rushed days when he could trade the morning juice or smoothie for these delicious bars! This is a far cry from the pop tarts and donuts I used to feed him for breakfast when he was little.
Join me and I’ll show you how to make these easy strawberry oatmeal bars. Although oats are naturally gluten free, they are sometimes made in a facility where gluten is present. If you have celiac disease and need to make sure the manufacturer says certified gluten free.
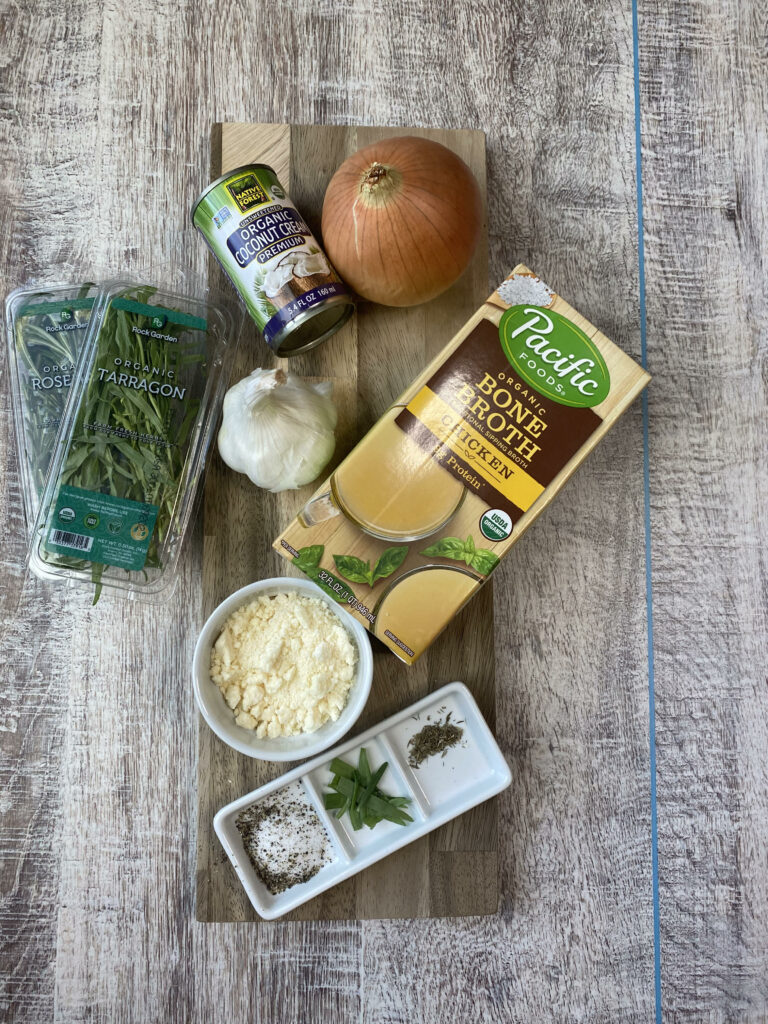
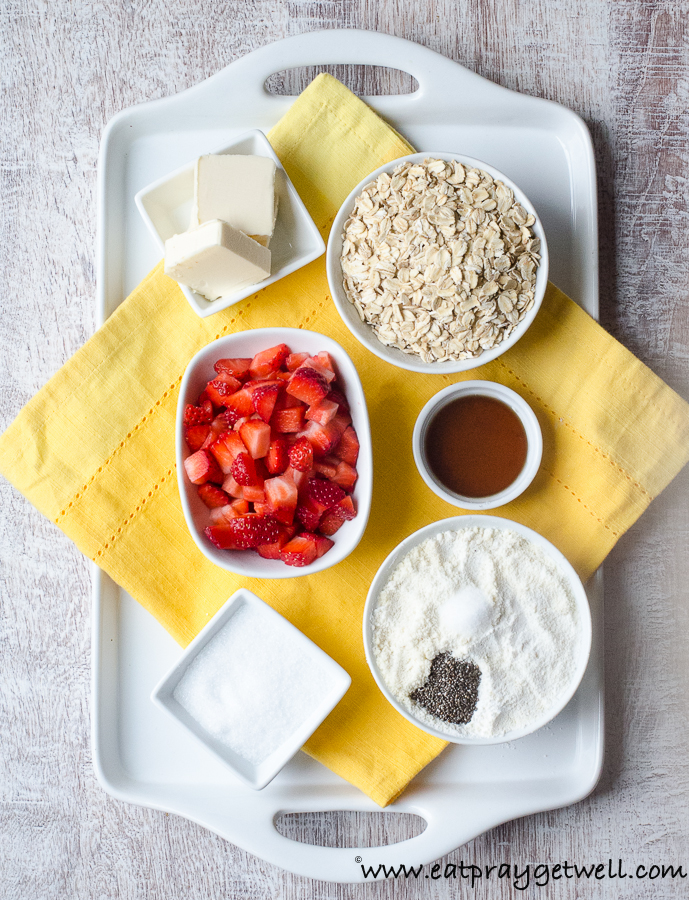
What You Need for Strawberry Oatmeal Bars
- 1 cup gluten free oats – note: if you have a serious gluten allergy one would have to make sure it’s made in a facility that doesn’t process wheat and barley.
- 1 cup strawberries
- 6 tablespoons almond flour
- 6 tablespoons tapioca flour
- 3 tablespoon xylitol
- 2 tablespoons organic maple syrup
- 1 teaspoon chia seeds
- ¼ tsp salt
- 6 tablespoons butter
- a sprinkle of arrowroot or tapioca flour for the top of berries
- squeeze of lemon
- ½ tsp vanilla extract
How to Make Strawberry Oatmeal Bars (Kaufmann Diet Friendly)
- Cut strawberries in small pieces
- Add about ¼ tsp of arrowroot or tapioca powder to the strawberries and squeeze a dash of lemon and stir.
- Set strawberries aside.
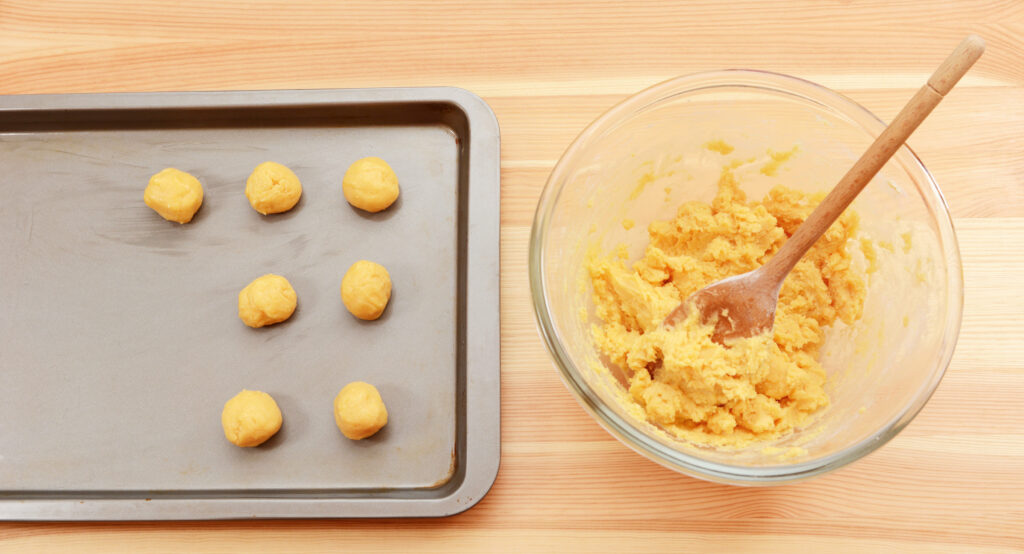
- Mix all ingredients (except strawberries) in one bowl.
- Set aside ¼ cup of the oatmeal mixture for the top.
Instructions Continued
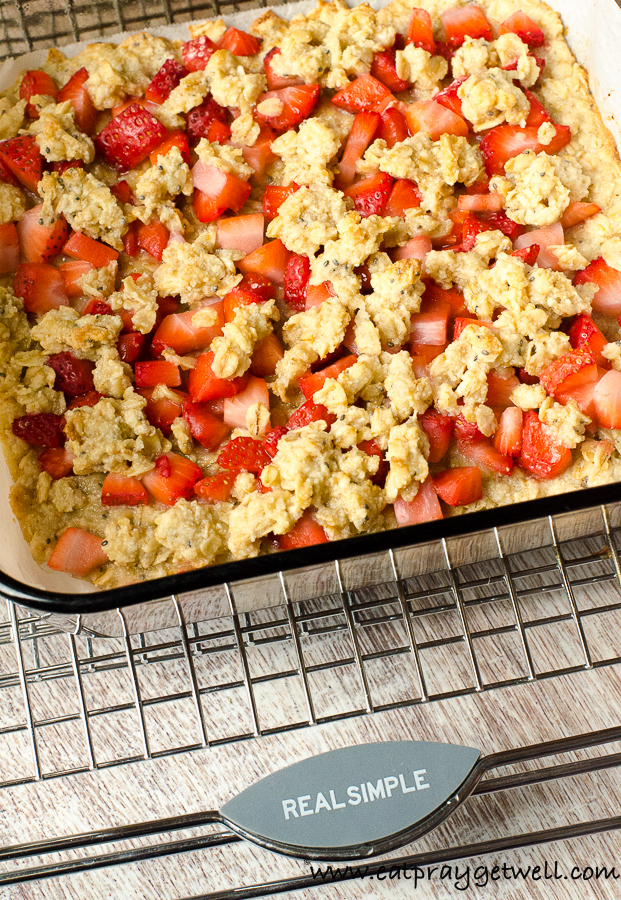
- Line square pan with parchment paper and spray with non stick spray.
- Place oatmeal mixture in pan and press down.
- Top with strawberries.
- Sprinkle a small amount of xylitol on top berries.
- Crumble the remaining oatmeal mixture that you had set aside on top and bake at 375 degrees for 25 minutes.
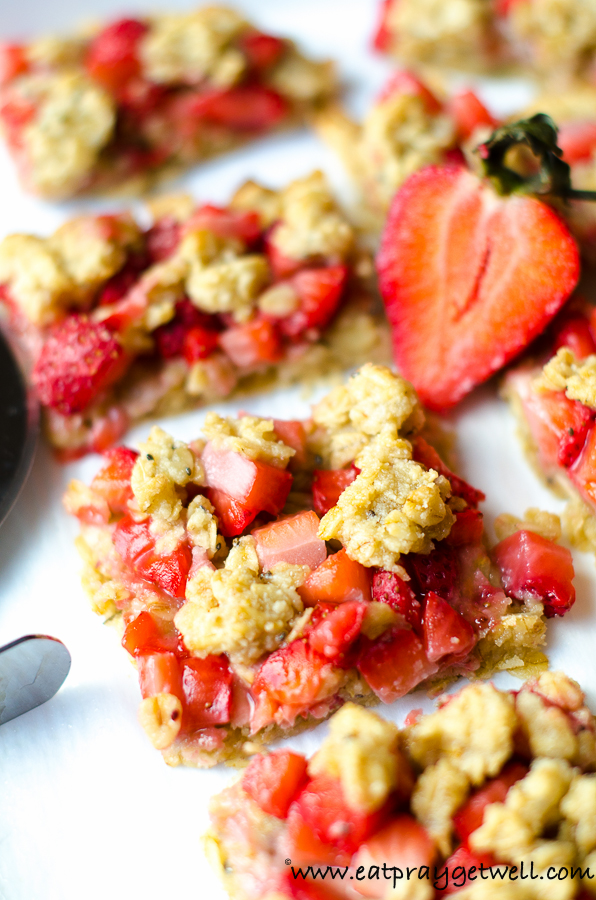
- Let completely cool before cutting.
- Note: If you are following the Doug Kaufmann Diet (aka the Kaufmann diet) this recipe would be considered Kaufmann 2. Doug Kaufmann of Know the Cause has dedicated his life to helping people overcome chronic health issues caused by mold.
Nutrition In Strawberry Oatmeal Bars
- Strawberries – High in Vitamin C and antioxidants. Strawberries also have anti inflammatory properties and may also protect against heart disease and cancer.
- Oats – Oats are a whole grain naturally gluten free. Sometimes they are processed in plants that also process wheat and barely so be careful if you are 100% gluten free. Oats are good for the heart, help regulate blood pressure, and contains antioxidants.
- Almond Flour – Almond flour contains a good amount of Vitamin E which is great for our brain. It also contains antioxidants to help reduce diseases such as cancer, diabetes, and heart disease.
- Chia Seeds – The food of the ancient warriors! Mayan and Aztec warriors consumed plenty of chia seeds because they felt these little “magical” seeds increased their endurance. These tiny seeds are packed with Omega-3 fatty acids, fiber and protein.
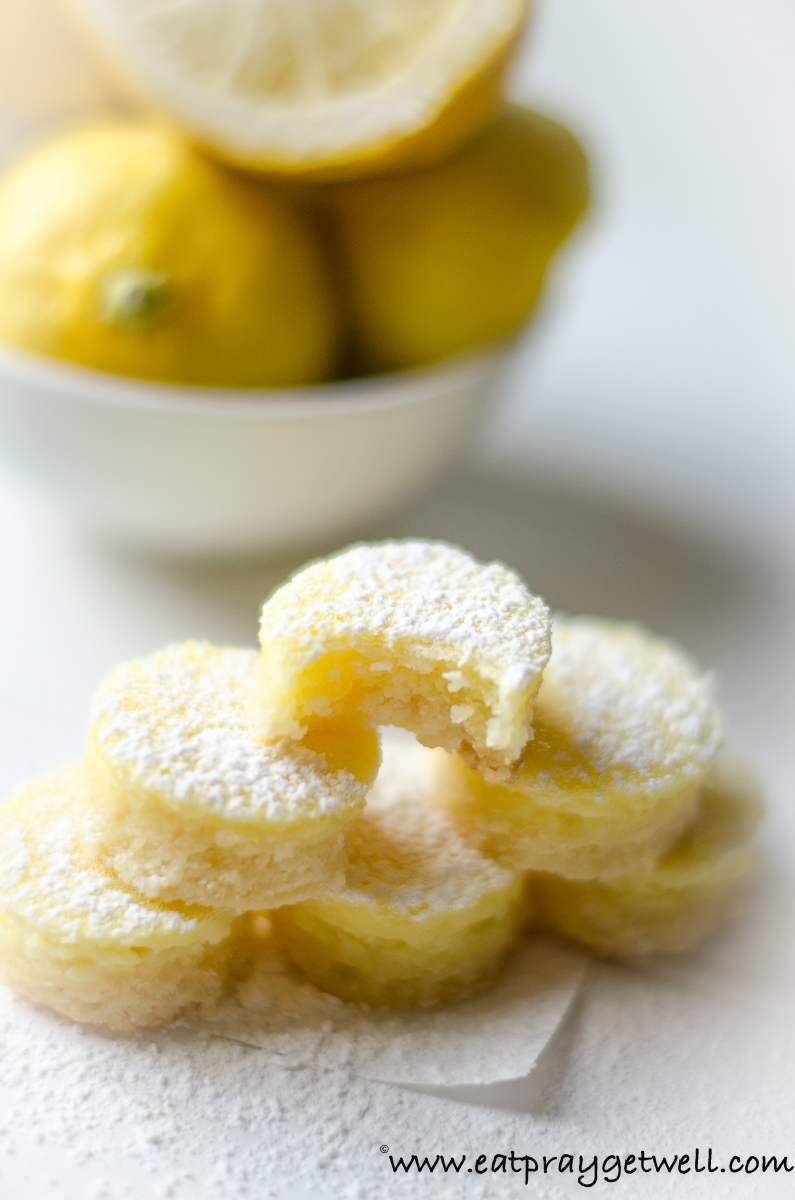
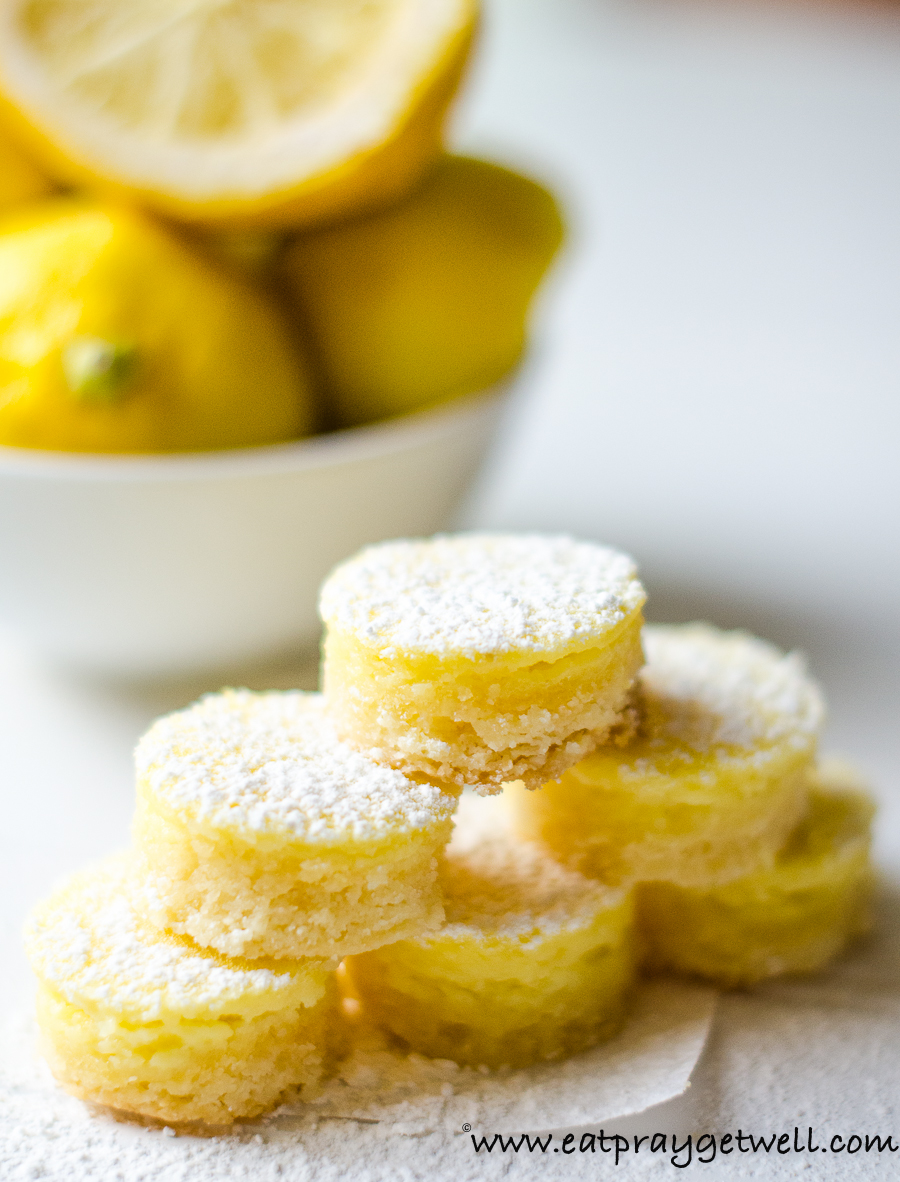
Strawberry Oatmeal Bars (Kaufmann Diet Friendly)
Ingredients
- 1 cup Gluten free oats (If you have a serious gluten allergy one would have to make sure it's made in a facility that doesn't process wheat and barley.)
- 1 cup Strawberries
- 6 tbsp Almond flour
- 6 tbsp Tapioca flour
- 3 tbsp Xylitol
- 2 tbsp Organic maple syrup
- 1 tsp Chia seeds
- 1/4 tsp Salt
- 6 tbsp Butter
- Arrowroot or tapioca flour (just a sprinkle for the top of berries)
- Squeeze of lemon
- 1/2 tsp Vanilla extract
Instructions
- Cut strawberries in small pieces, add about 1/4 tsp of arrowroot or tapioca powder to the strawberries and squeeze a dash of lemon and stir.
- Set strawberries aside.
- Mix all ingredients (except strawberries) in one bowl. Set aside 1/4 cup of the oatmeal mixture for the top.
- Line square pan with parchment paper and spray with non stick spray.
- Place oatmeal mixture in pan and press down.
- Top with strawberries.
- Sprinkle a small amount of xylitol on top berries.
- Crumble the remaining oatmeal mixture that you had set aside on top.
- Bake at 375 degrees for 25 minutes. Let completely cool before cutting.
Notes
UPDATE – My book Eat Pray Get Well ~ A story of overcoming decades of chronic illness, a difficult childhood, and food addiction… with 60 recipes free of gluten, wheat, yeast, peanuts, refined sugar ~ Forward written by Doug Kaufmann – TV Host of Know the Cause, can now be purchased here on my website, some retail stores, and on Amazon.com If you are running from doctor to doctor in search of answers but keep coming up empty, this book is an eye opener! To watch my story of chronic illness and why I follow the Kaufmann diet, you can view my interview with Doug Kaufmann on Know the Cause.
More Kaufmann Diet Desserts Below
Watch as I made pumpkin bread on NBC’s morning show
This post contains affiliate links.